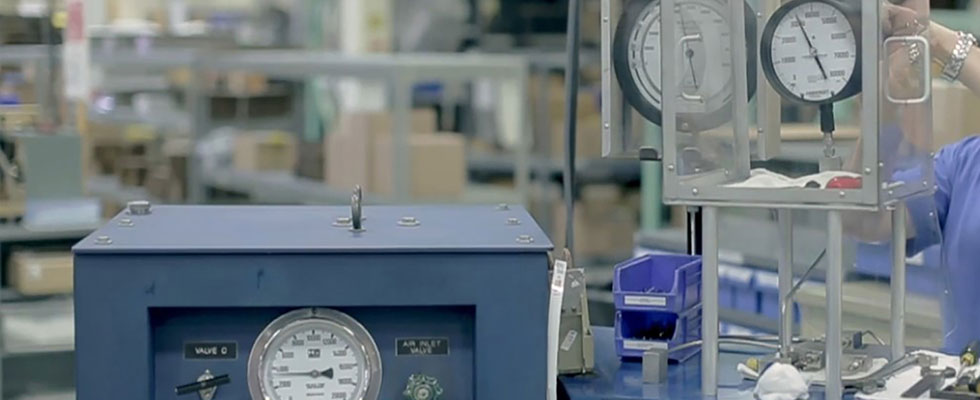
Did you know that pressure gauges can lose accuracy over time? No gauge can stay completely accurate forever; so, users need to regularly check a gauge’s accuracy to ensure it continues to provide correct readings for the application.
If gauges are not regularly checked, inaccurate pressure readings can cause equipment to malfunction and break down, which can lead to downtime. But how often should users check the accuracy of pressure gauges? There is no official defined accuracy interval for the industry, but there are best practices that users should follow.
Why Does Calibration Matter?
Pressure readings are important to almost all operations, so accurate, reliable and repeatable devices must be maintained to ensure maximum performance and efficiency.
The calibration interval is the period between the instrument’s last verified calibration and its next scheduled checkup. Keep in mind that units are often removed from the process and either validated on-site or forwarded to an outside party for servicing. This means users will have to contend with downtime. This can take several days to weeks depending on the scope of service. So, it may be wise to inventory identical models and rotate units as deemed necessary. Replacement units will also need to follow the same calibration check interval and should not be used only in times of trouble like a spare tire for a car.
Generally, organizations such as the National Institute of Standards and Technology (NIST) or the American Society of Mechanical Engineers (ASME) do not establish calibration intervals, and users cannot depend on an outside party to determine when they should reevaluate instruments.
This places the ultimate responsibility on the user, as they are the most familiar with the application and the conditions the instrument will need to operate. As such, the user will need to determine the duration of the interval. Users should consider reducing this interval as process conditions become more unstable or fluctuate by degrees so each instrument may have a distinct correlation with the calibration interval.
Determining Pressure Gauge Calibration Intervals
As an instrument’s accuracy will eventually degrade over time, users must proactively manage when it is checked. This takes time to establish, though it is better to check gauge accuracy early rather than extending any interval to save time and/or cost.
When determining an instrument’s calibration interval, be sure that the instrument provides accurate, reliable and stable pressure readings over the established period. Schedule recalibration immediately if the gauge pointer is off zero or out of the zero box. This will reduce the impact on the process. Gauges used in extreme applications will require more frequent (shorter) calibration intervals because harsher environments can quickly degrade instruments.
Process conditions with excessive vibration, pulsation and/or high cycle rates can result in mechanical wear and have an adverse effect on accuracy, repeatability and reliability. Units recently calibrated should be clearly identified with a serial number and the date they were calibrated. This allows for easy tracking and identifying process trends that can provide an alert to future process issues.
Recommended Calibration Intervals
Typically, the suggested time to check instrument calibration is once every 12 months. But, as mentioned before, the timing should be decreased or increased by the end user depending on both application and process parameters. In some instances, it may not even be possible to recalibrate the instrument. For example, some gauges have a nonremovable front ring that makes recalibration impossible. Low-cost gauges are typically not meant to be recalibrated, as they would cost more to be calibrated than simply buying a new gauge. Be sure to look at cost-effectiveness for the business—is it economical to calibrate or should users simply buy a new product?
Finally, be sure to communicate with the quality assurance department. It can be of vital importance when developing the calibration intervals for products based on a company’s checks and balances.

